| First you'll want to select a picture, If you'd like, add a frame or some sort of border treatment to it now. For demonstration I'll start with this image. | 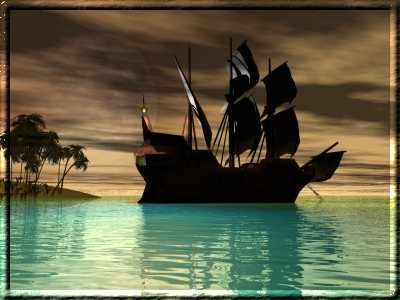 |
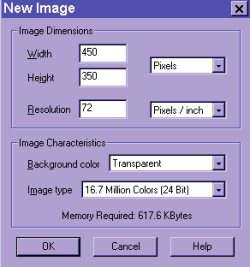
| Open a new file. Click on File...New. Make the new image about 50 pixels more in width and height than your original picture. Mine originally measured 400 X 300. So I'll make my new image: Hit OK |
 |
| Click on your original image. Go to Edit...Copy. Click on the new transparent image. Go to Edit...Paste As New Selection. Center the image. Put your original image off to the side. We'll need it's dimensions later on in the script. We'll be using this new image to cut up. (I do this to eliminate the extra pixels that got added when I used to cut up the original picture. PSP6 will 'custom size' to the area selected without adding any addtional pixels if I first put the image on a transparent bg.) | |
| Now we have to cut up the image. (To keep the total file size to a minimum I cut the image into pieces so only the section that must be transparent is saved as a .gif. (thanks Phil for the tip ;o) For this image I would first cut the top section out. Click on the selection tool. In the tool options box make the settings | 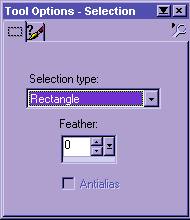 |
Outline the top section where there is no water. I try to stop just above the 'water line'. |  |
| Go to Edit....Cut and the top section will disappear. | 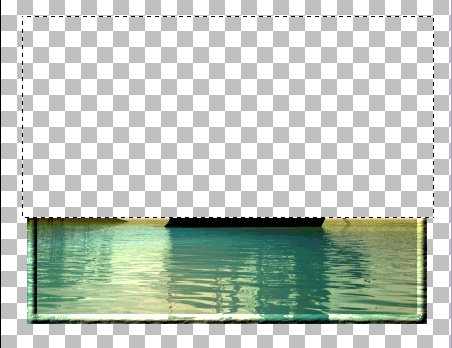 |
| Go to Edit....Paste As New Image and the top section will appear. Go to File....Save As. Name it and save as .jpg | top.jpg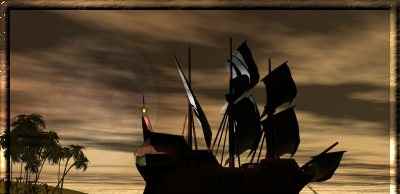 |
| Go back to the new transparent image with the missing top section. Again Using the rectangle selection tool outline the bottom area that is remaining. | 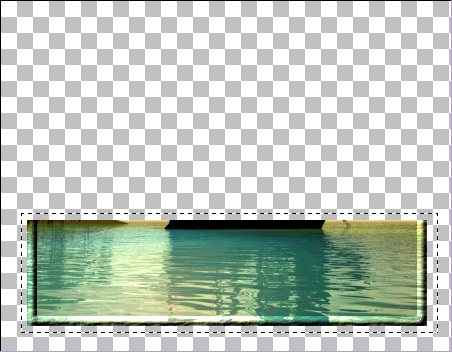 |
Go to Edit...Cut as before, that section will disappear Go to Edit...Paste As New Image Go to Edit...Paste As New Image again. Now we have 2 bottom images. Click on one of the images. Go to File....Save As. Name it and save as .jpg (This will be the image of the water that the script will 'ripple'. I usually name it water.jpg) | water.jpg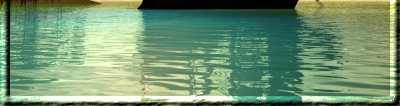 |
| At this point you can close the new image we started with. After cutting out the top and bottom sections there isn't anything left of it anyway. ;o) When it asks if you want to save changes...just click NO. | |
| Back to the water.jpg for a moment. I have found that I almost always have to do a little 'creative editing' to the water image. When the script ripples the water the edge of the frame will show up or the edge of a rock or whatever. I use different methods to 'cover up' the unwanted ripples...usually the clone brush. Click here for additional painting tips to get rid of those 'unwanted' ripples. | |
Click on the other copy of the bottom section that we haven't named yet. Now it's time to paint. This will be the transparent .gif. Click on the paintbrush tool. | 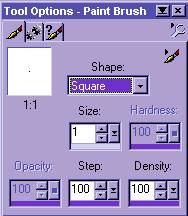 |
Click on the color palette. Paint over the water. Click here for tips on painting and saving transparent .gifs | bottom.gif |
| Now we have all the images we're going to need. Usually at this point I optimize all the images. I use a program called xat.com Image Optimizer. It can be used on both .jpg and .gif images. It's a shareware program that you can download at http://www.xat.com/ Time for the script |
|
 In the tool options box make sure the hardness, opacity, step, and density are all set to 100%
  and choose a color not already used in the image.